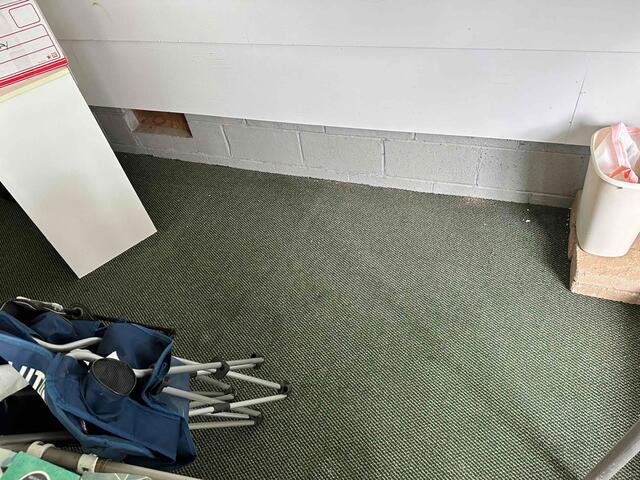
Before
The determined access point. Our crew will remove the carpet, and begin the installation.
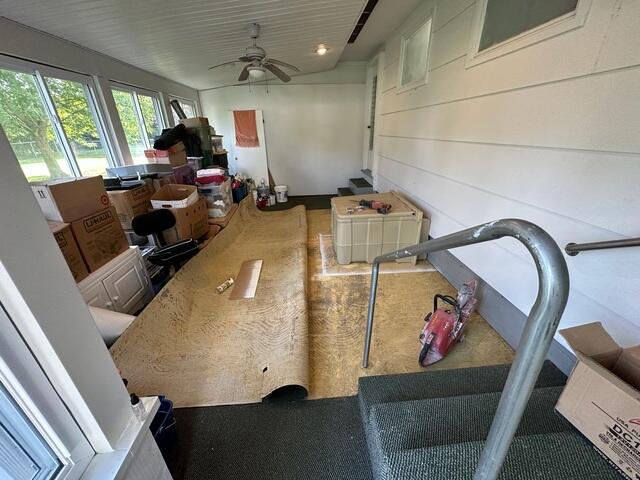
Planning
Our crew marks where they need to dig out, so they can place the system.
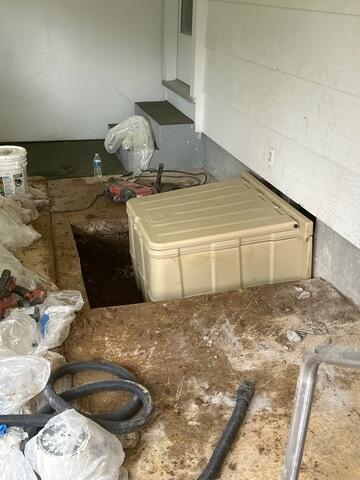
Getting There!
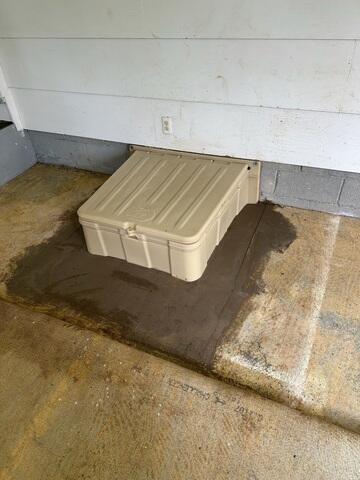
The Turtl is placed in the dug out well, and will be attached to the block wall.
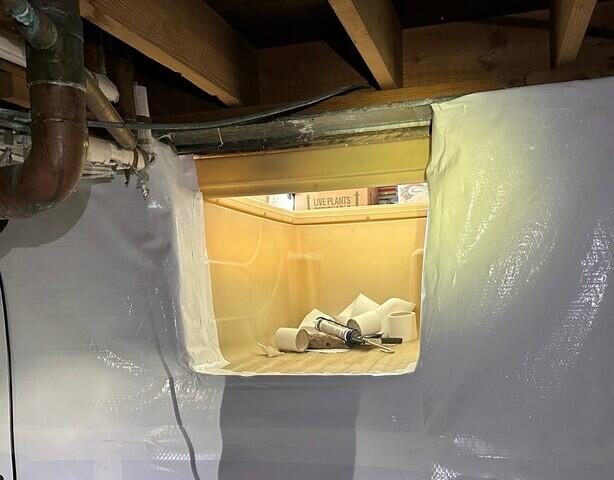
Hello From the Other Side
A look at the new access well from inside of the crawl space.
After
The finished installation of the Turtl System. Our crews will patch the surrounding area with concrete.