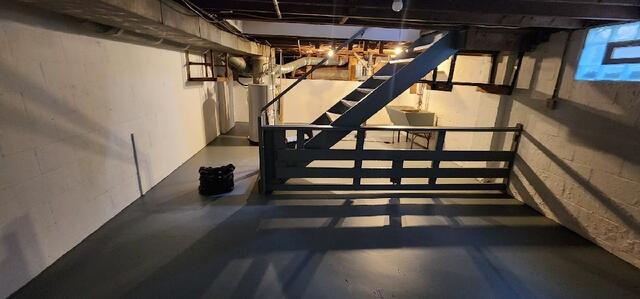
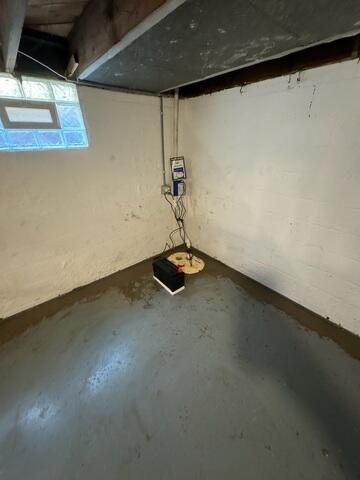
Before
The basement at the initial inspection.
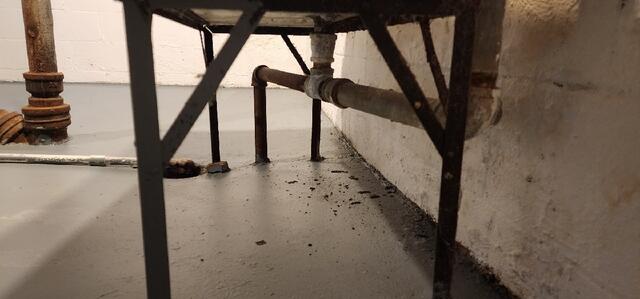
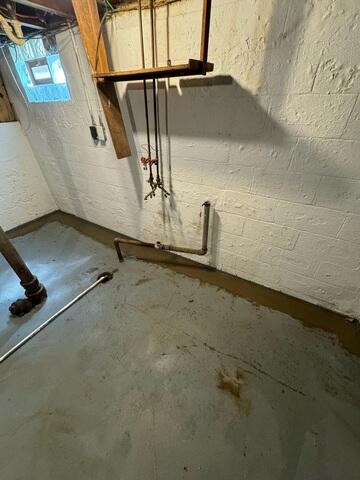
Before
The basement at the initial inspection.

Before
The basement at the initial inspection.
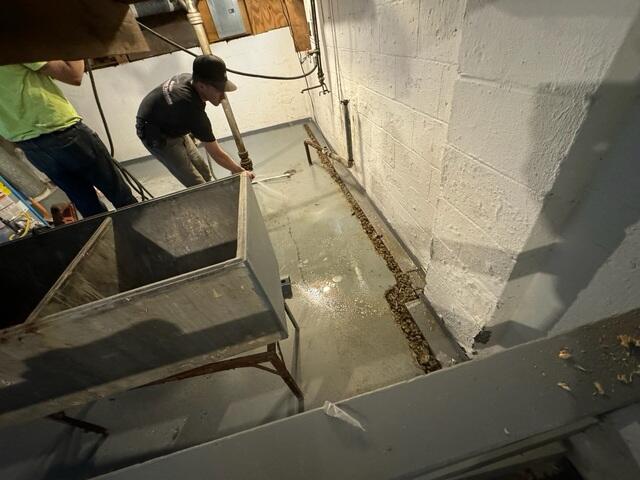
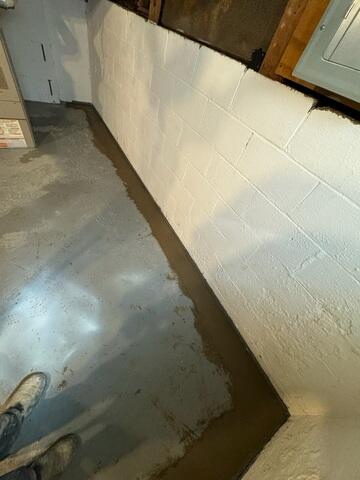
Installation
The WaterGuard Below-Floor Drain System is designed with a built-in wall flange, which extends up your basement wall by 3/8". Any water leaking from the walls will move downward and behind this flange, where it is then directed into the WaterGuard system.
WaterGuard Installation
Water collected by these systems is then drained down to your WaterGuard System and directed to your sump system.
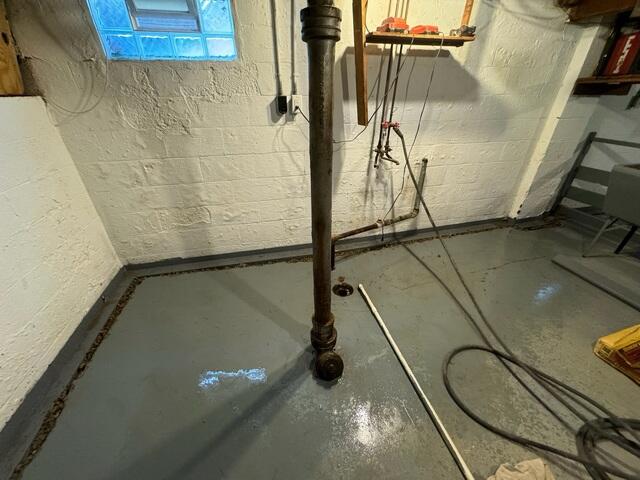
After
The installed WaterGuard & Triple Safe Sump Pump after the concrete has been restored.
After
The installed WaterGuard after the concrete has been restored.
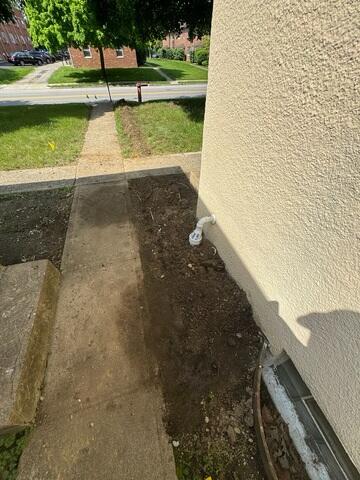
New Discharge Line
The discharge line now runs to the street and is protected from freezing temperatures with the IceGuard attachment.
After
The installed WaterGuard after the concrete has been restored.