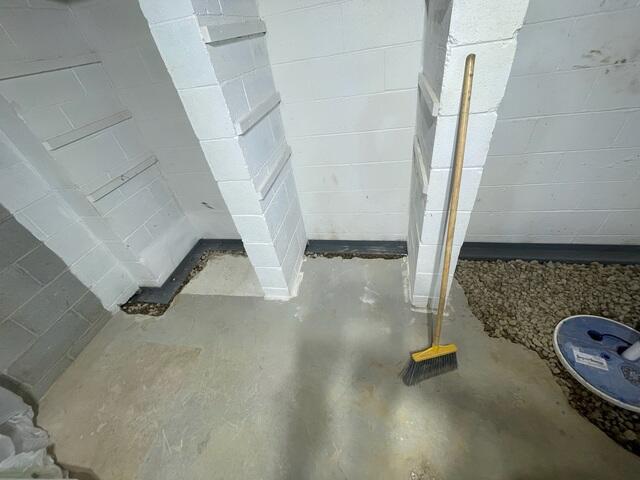
WaterGuard
The WaterGuard drain system after being placed along the perimeter of the basement.
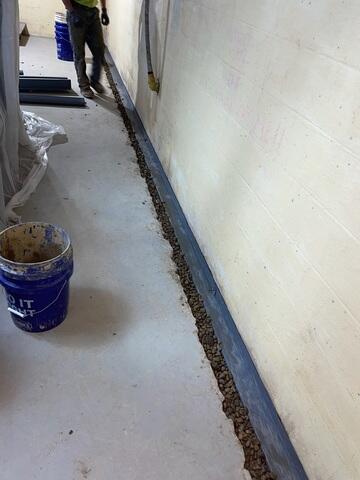
WaterGuard
The WaterGuard will channel any water into the sump pump system.
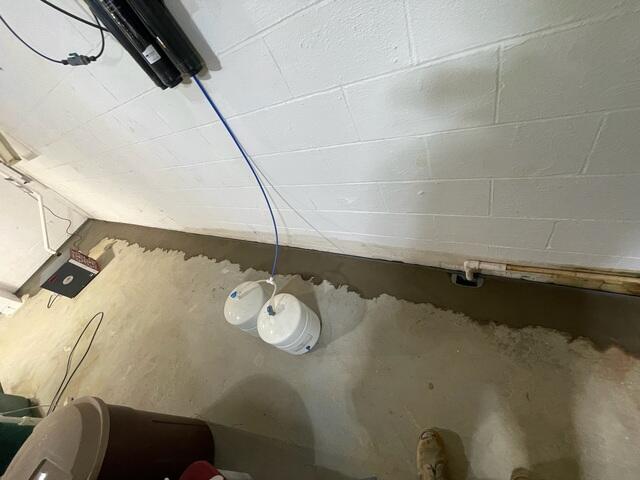
Water Guard - After
The WaterGuard is backfilled with gravel to promote water flow, and then re-concreted on top for a smooth finish.
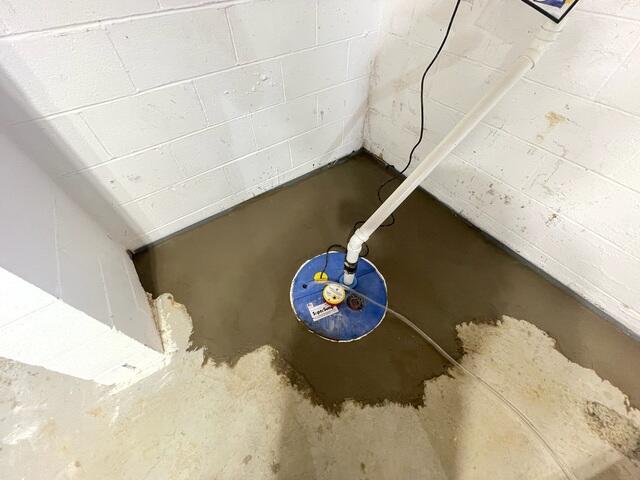
Super Sump
The SuperSump System placed in the corner of the basement. The broken out concrete is re-poured for a smooth finish
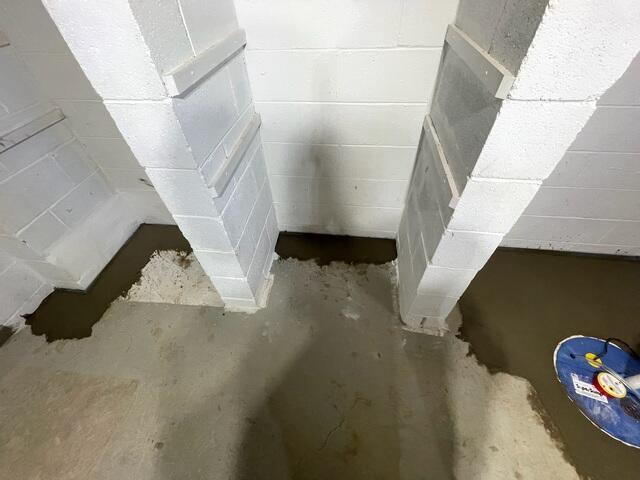
Water Guard and Super Sump
A finished look at the waterproofing project.