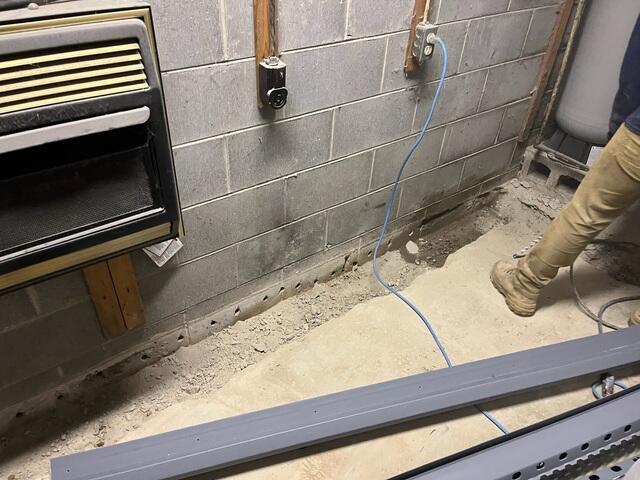
Concrete Break Out
One of the beginning steps to installing a perimeter drain is to bust out the concrete to be able to install the drain underneath the surface.
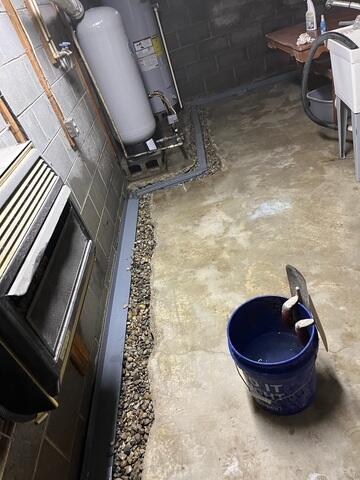
Fill it up!
The drain is then placed, and the surrounding area is filled with gravel to allow the water to flow into the drain.
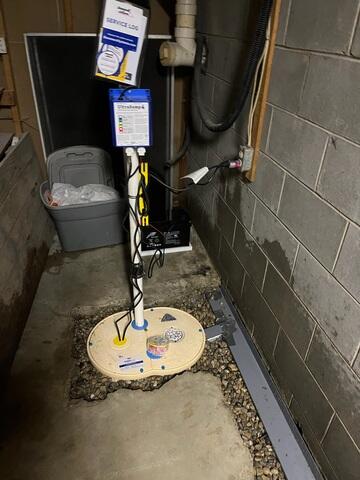
Making a connection
The drains are connected to the sump pump, allowing the moisture that comes in to drain into the pump.
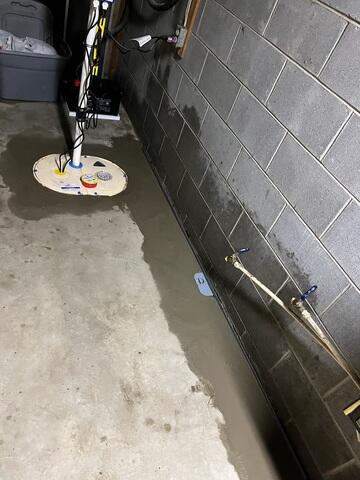
Smooth Finish
The floor is then re-done with new concrete. The drains are now functional and hidden!