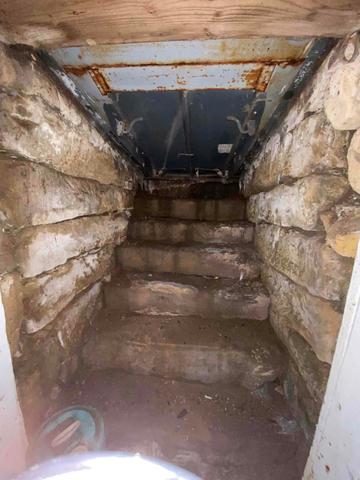
Before - Wet Steps
The cellar door was allowing water to come into the basement and down the stairs.
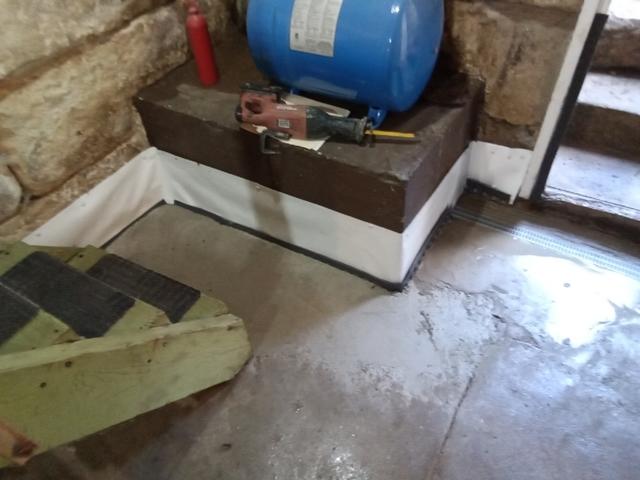
During - Connecting the Drains
The drains were all installed connecting to each other to drain all water to the same place.
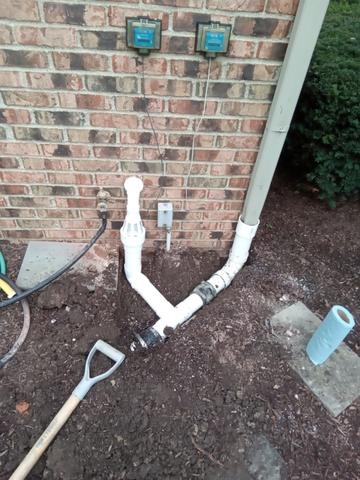
After - IceGuard and Extended Drainage Line
These drainage lines are connected to the sump pump and are the pathway for water to be moved out and away from the basement.
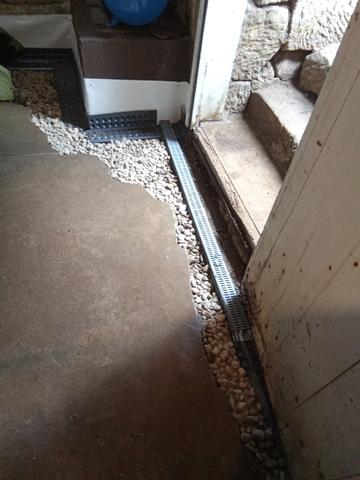
After - WaterGuard and TrenchDrain
WaterGuard was installed around the perimeter of the basement and we installed a TrenchDrain at the bottom of the stairs.