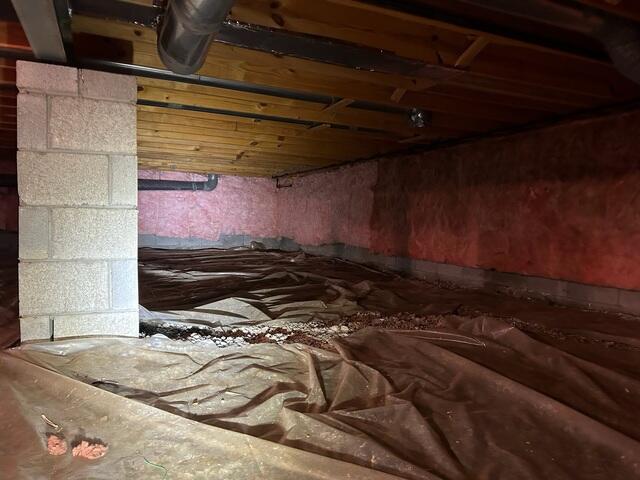
Before
The crawl space at the initial inspection. Our crews will remove all old insulation and debris in the space.
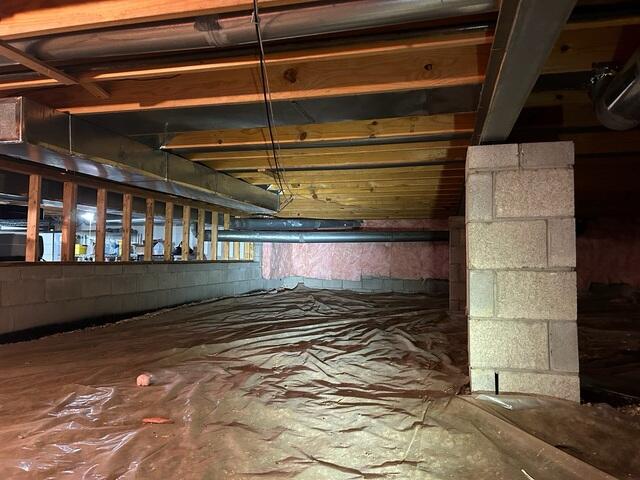
Before
The crawl space at the initial inspection. The homeowners saw this as storage potential, and wanted to make sure it stayed dry.
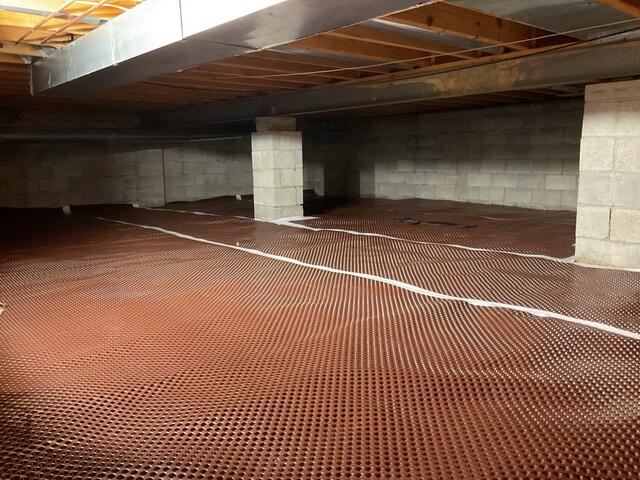
Drainage Matting Installation
The raised dimples on our CleanSpace Drainage Matting gives the water flooding into your crawl space a channel underneath your crawl space liner.
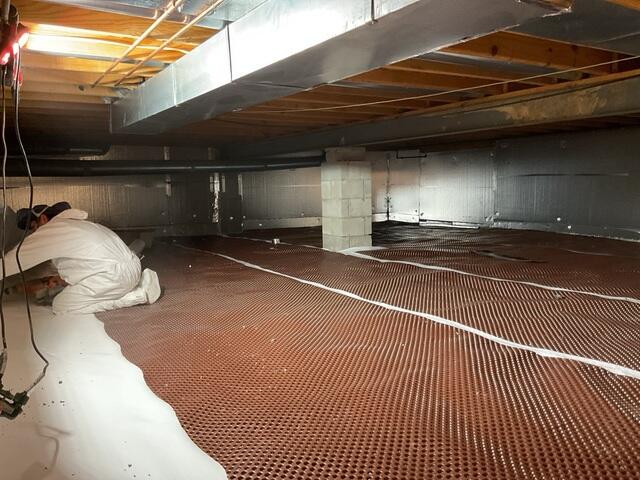
Installation
One of our skilled crew members installing the CleanSpace vapor barrier on top of the drainage matting.
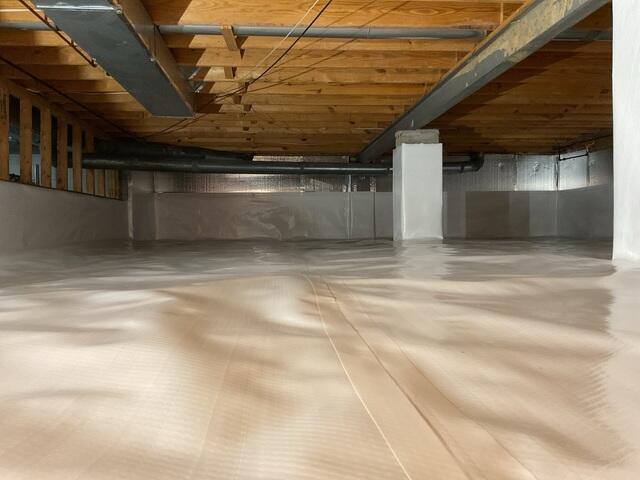
After
The finished installation of our Drainage Matting, Clean Space vapor barrier and SilverGlo insulation.
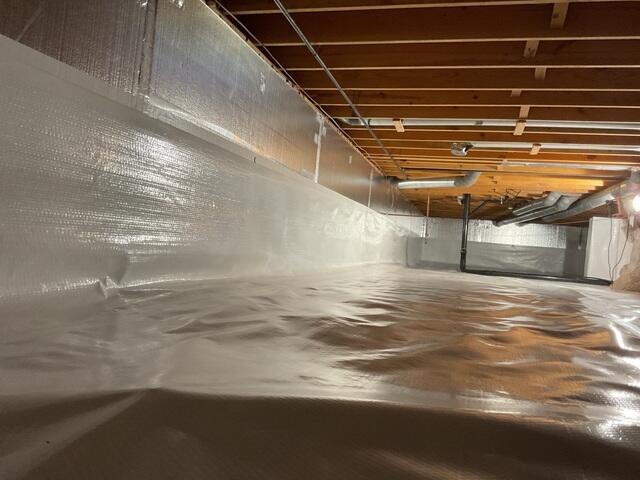
After
The finished installation.