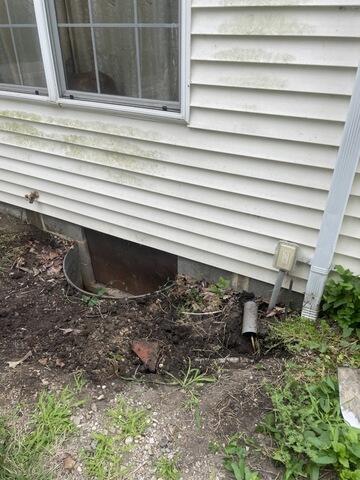
Before
The existing access well. Debris, water and pesters were getting into the crawl space.
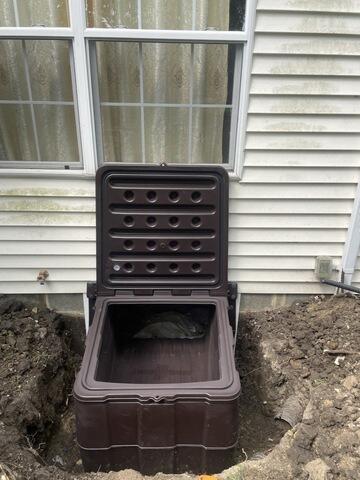
Installation
We excavated a hole for the crawl until and placed the Turtl in accordingly.
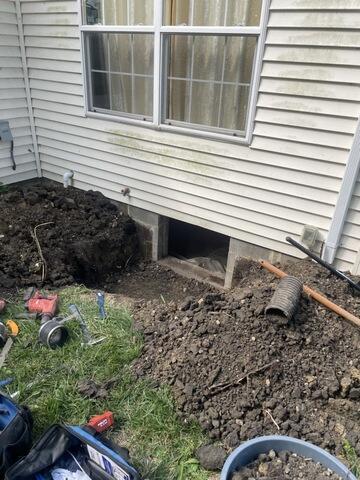
Installation
First steps were to excavate the existing earth to make room for the Turtl.
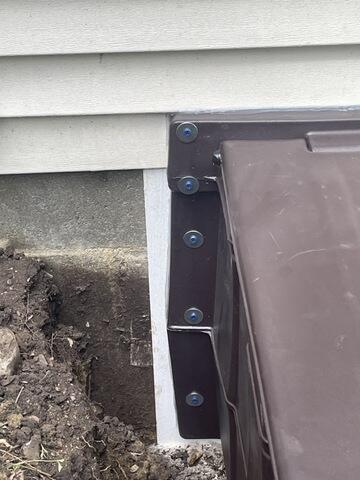
Installation
The unit is caulked and drilled into the home's foundation.
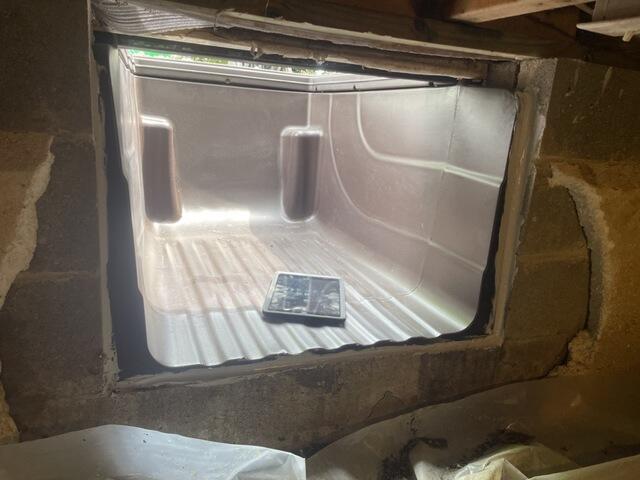
Inside View
The Turtl from the inside of the crawl space.
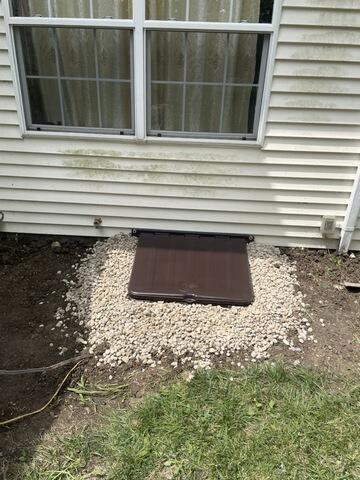
After
The finished installation. For increased security and protection, The Turtl can be secured shut with a locking device, like a door.