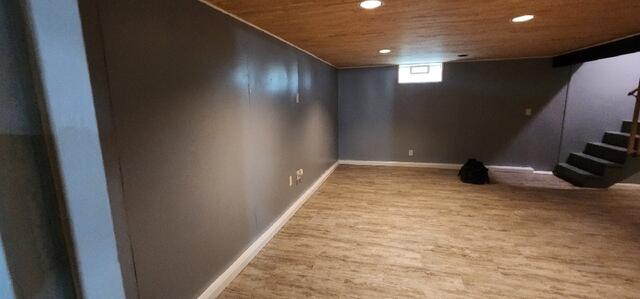
Before
The basement at the initial inspection.
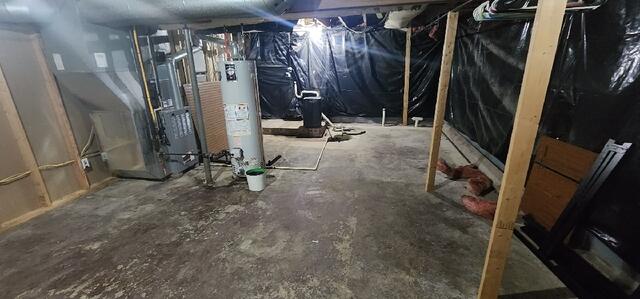
Before
The basement at the initial inspection.
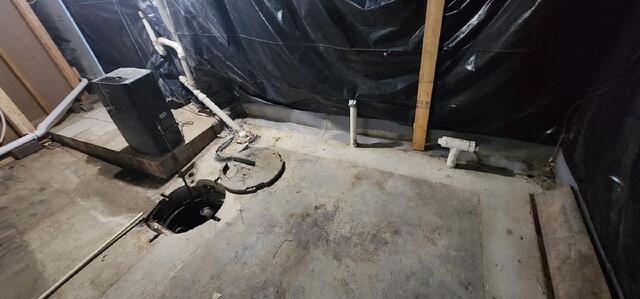
Before
The basement at the initial inspection.
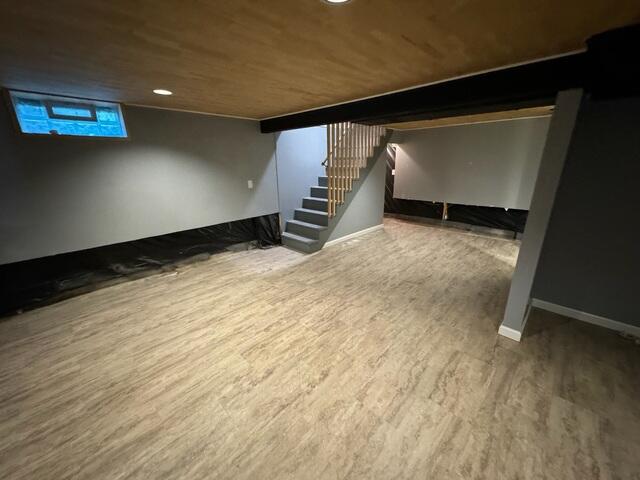
Beginning Stages
We pulled up the baseboards and removed the bottom portion of the drywall.
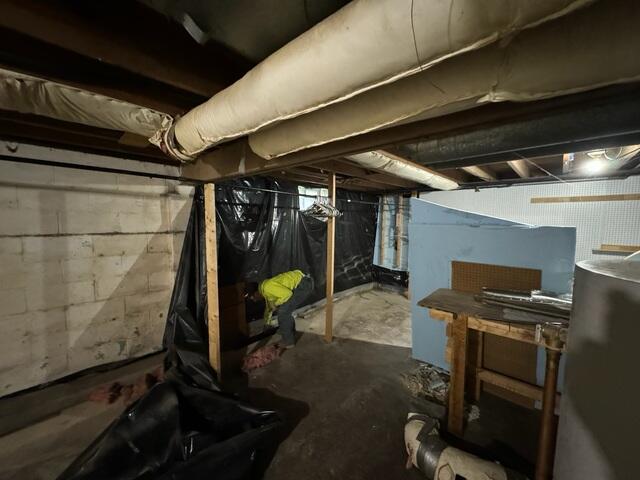
Getting Started
We removed the plastic hanging from the wall before getting started.
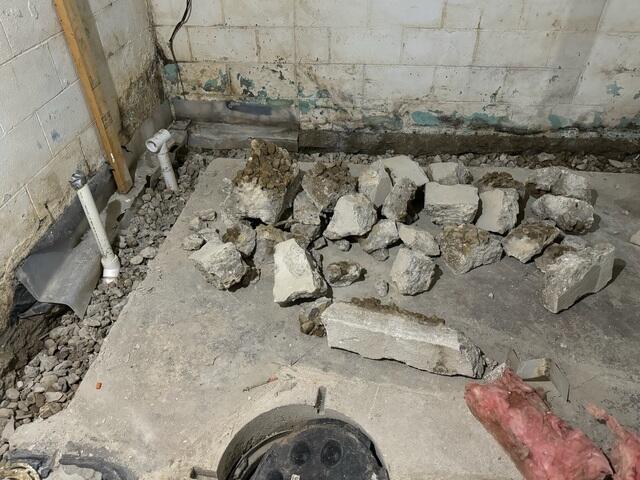
Breaking out!
Our crews break out the old concrete and remove it from your home.
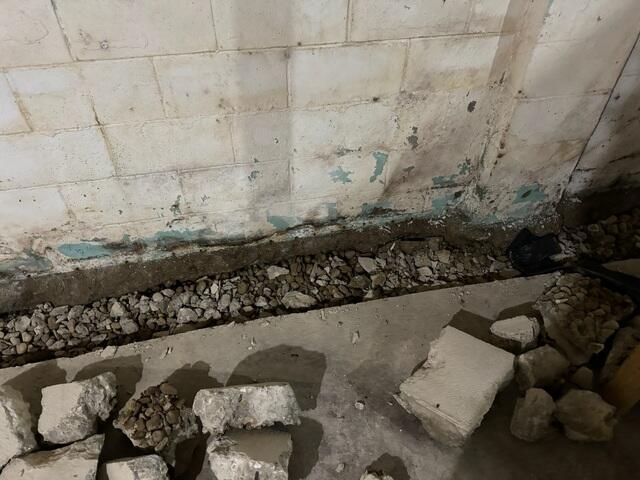
Break Out!
The existing concrete is broken out so we can lay the pipe below your floor. By installing the drain at this point, it's kept out of the "mud zone", the point where clogged drains are common.
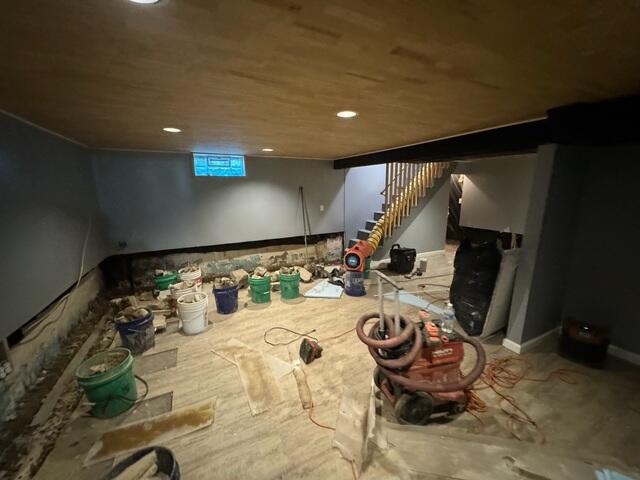
Installation
Our crew has to remove some flooring and drywall in this section of the basement to get started on installation.
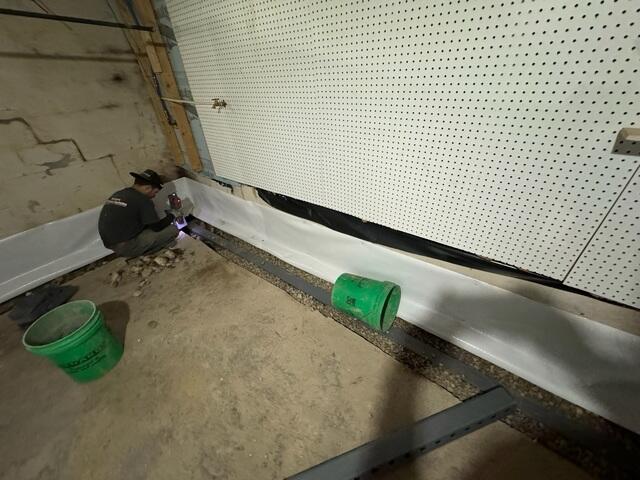
Installation
The WaterGuard System is a patented below-floor drain that rests in a bed of drainage stone on top of the foundation footing. By installing the drain at this point, it's kept out of the "mud zone", the point where clogged drains are common. The unique shape and large drain openings of WaterGuard also aid in preventing clogs in the system.
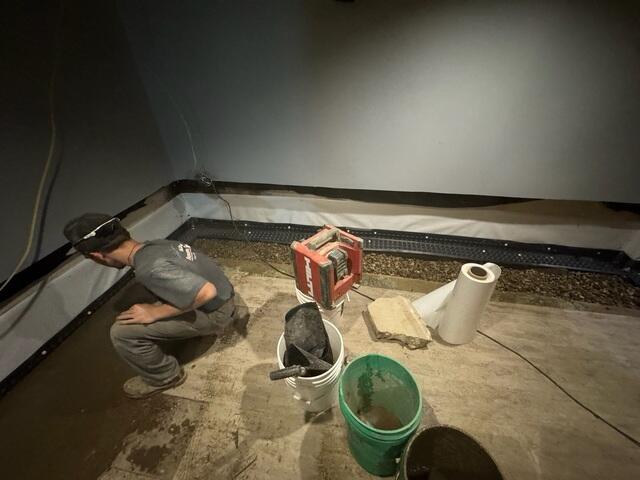
Finishing up!
The concrete that was broken out is then restored!
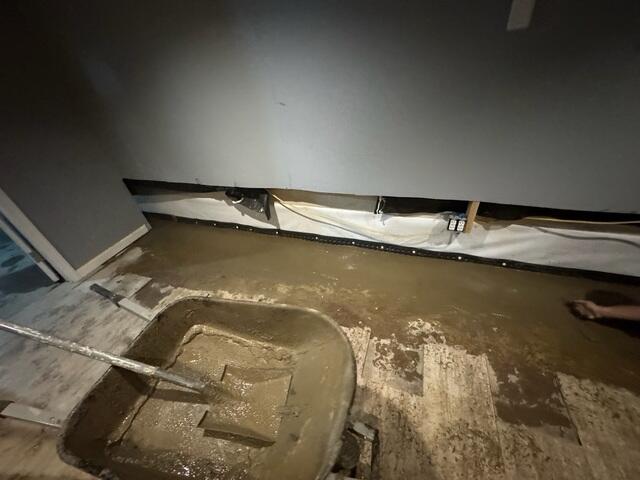
Restoration
The concrete is replaced, ensuring a smooth finish.
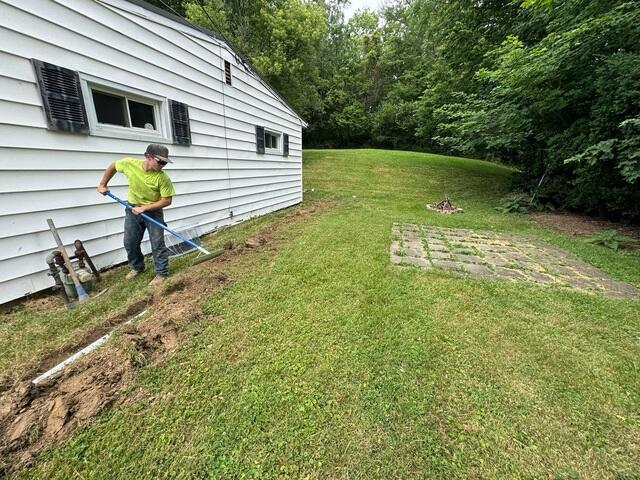
Downspouts
We extended the drainage lines further down the yard to divert water collected away from the home.
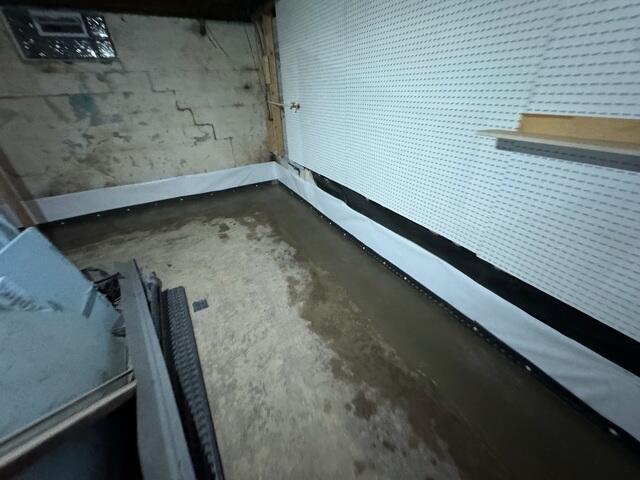
Finished
The WaterGuard Below-Floor Drain System is designed with a built-in wall flange, which extends up your basement wall by 3/8". Any water leaking from the walls will move downward and behind this flange, where it is then directed into the WaterGuard system.

