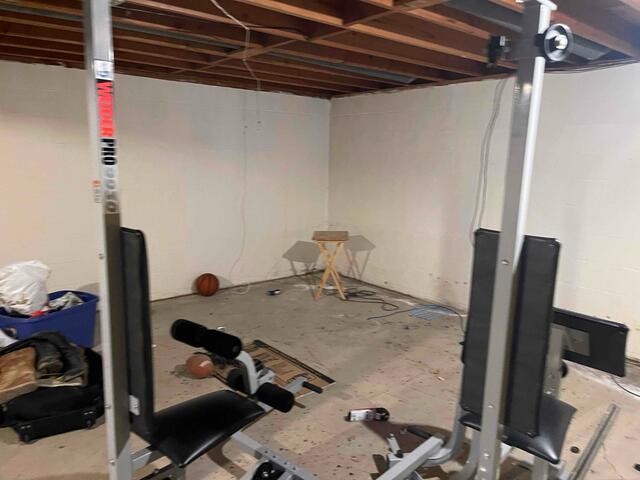
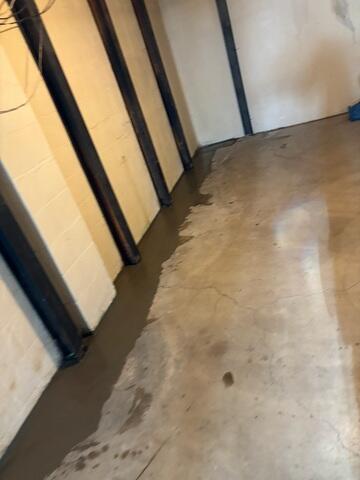
Before
The basement at the initial inspection.
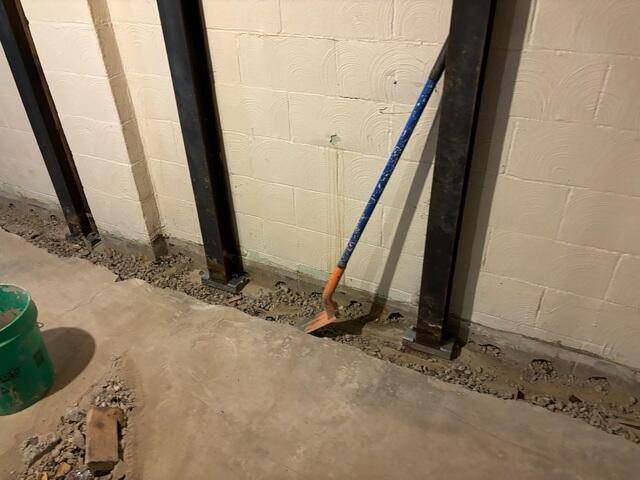
Installation
The beginning stages of the WaterGuard installation.
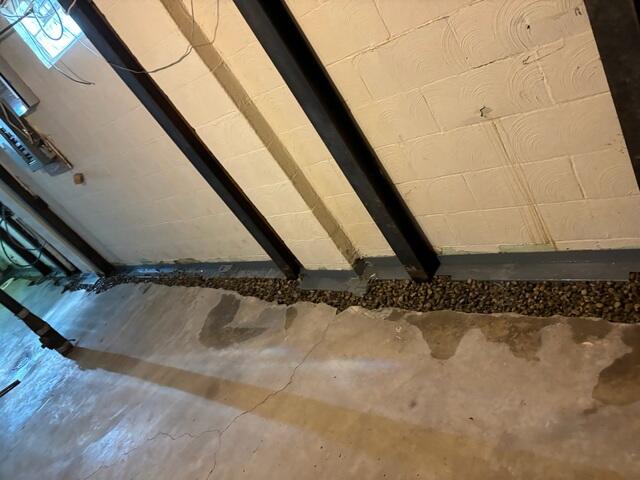
Installation
The WaterGuard track has been measured, cut and backfilled.
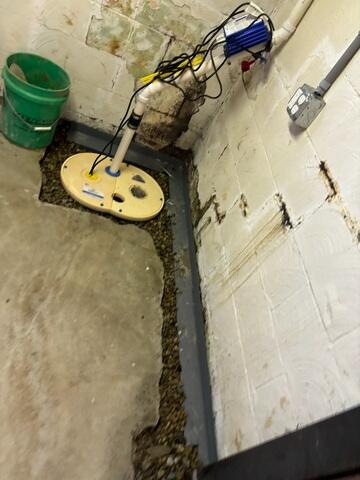
Installation
The WaterGuard runs to the TripleSafe sump system.
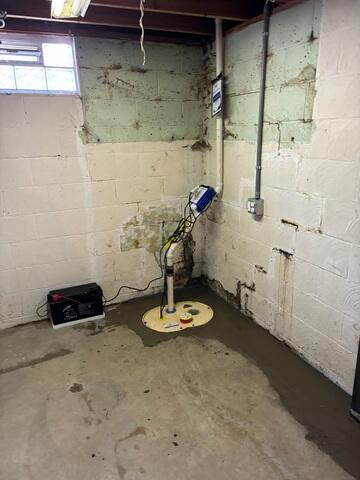
After
The WaterGuard and TripleSafe system after the drain has been covered and smoothed with new concrete.
After
The finished WaterGuard
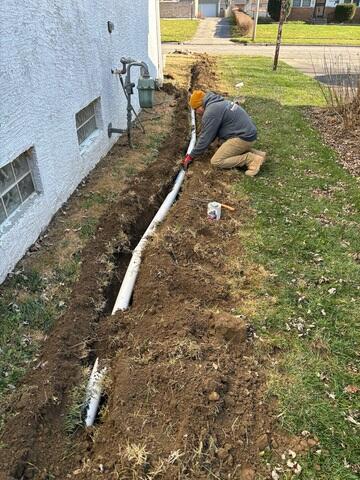
Installation
Our crew installing new downspout conductor lines.

After
After the downspout conductor lines have been placed and recovered.