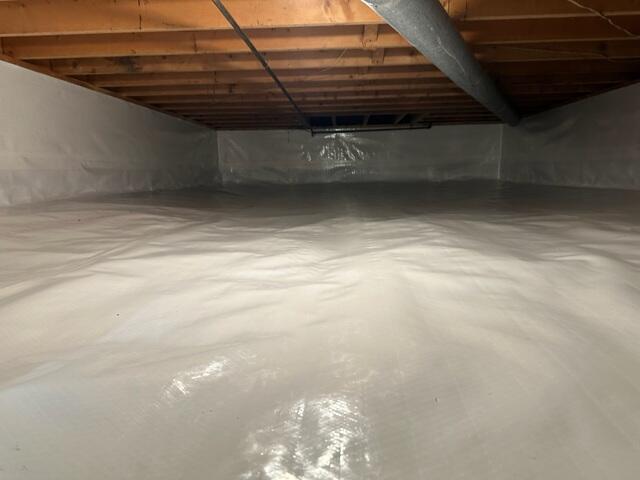
After
The finished crawl space at the end of the encapsulation.
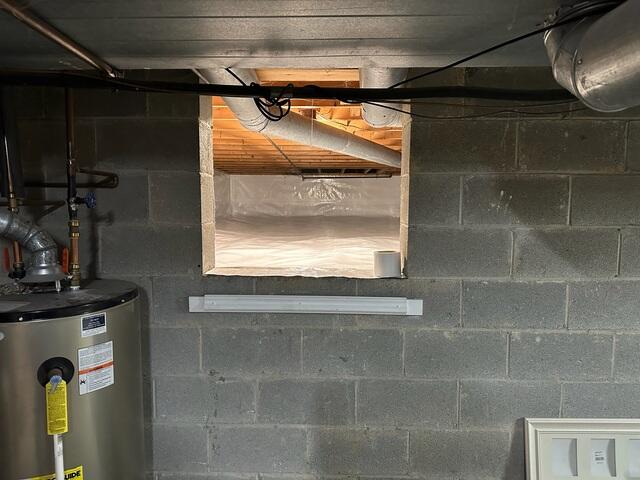
After
A look at the opening to the crawl space after the encapsulation. The homeowner has easy access to the crawl space to use it as storage.
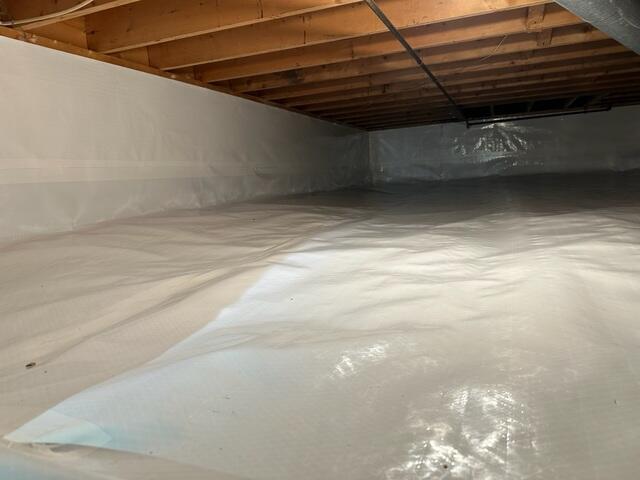
After
A second angle of the finish crawl space.
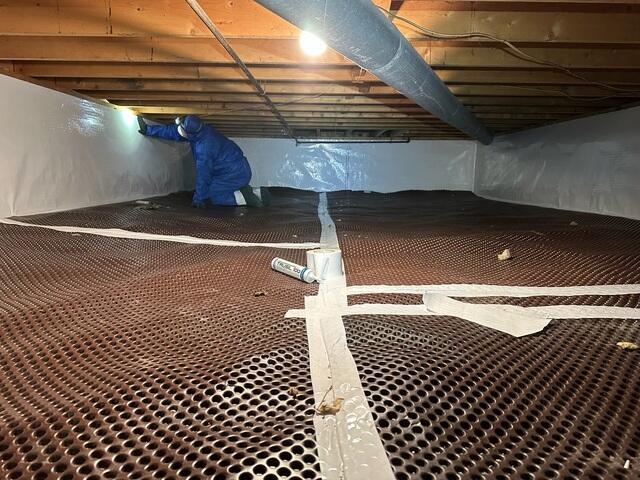
Intallation
Crew member Tim, works to install the CleanSpace vapor barrier.
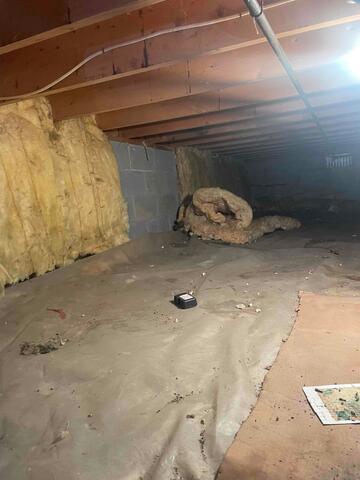
Before
The debris filled crawl space.
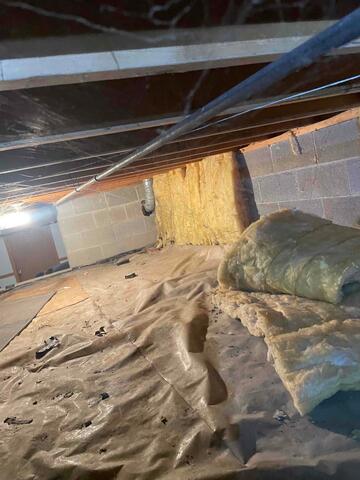
Before
A thin sheet of plastic and fallen insulation clutter up the crawl space.